A choker is a short necklace that fits snugly around the neck, which is back in fashion. Such an accessory looks very impressive and is able to give a highlight to any image; however, so as not to look too aggressive, the choker should be minimalistic and simple. We offer you to make a couple of variants of such fashionable chokers with your own hands.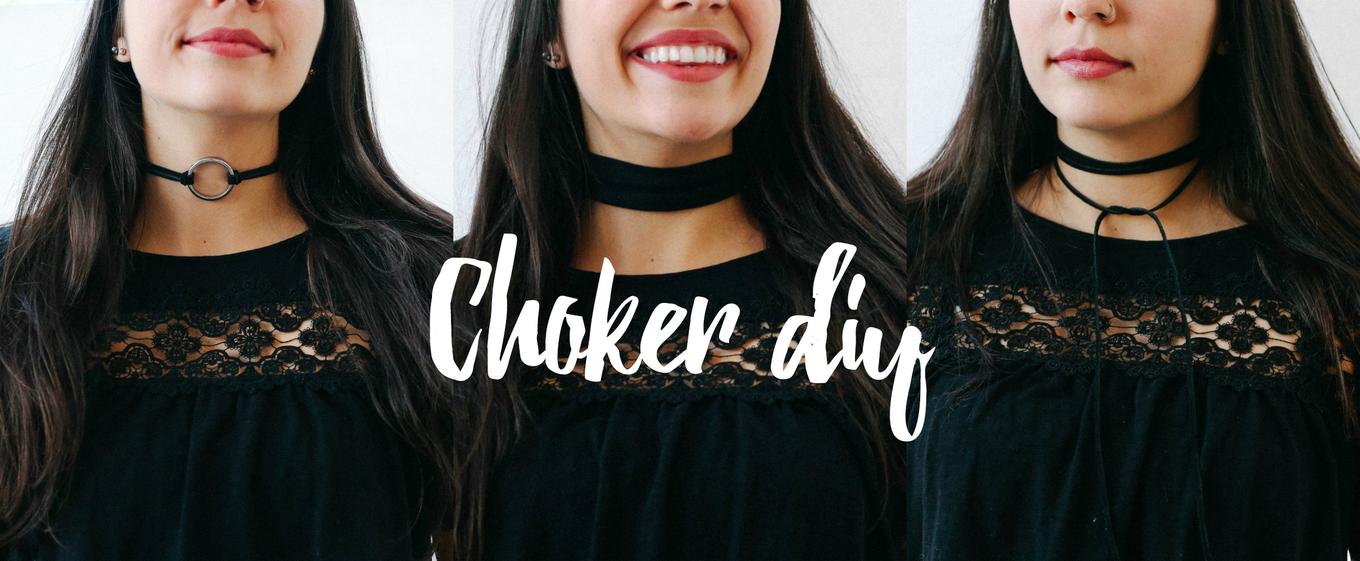
Option 1
You will need a metal ring and two leather laces (they are easy to find in the shops for needlewomen).
Stages of work:
– cut 2 pieces of cord, approximately 60 cm each;
– fold one of the pieces and stretch it through the ring so that the other end is in the loop;
– place the loop under the ring, as is shown in the photo;
– then pull the loop in the opposite direction so that it covers the two ends of the cord;
– force the loop ends through the loop;
– do the same with the second cord;
– tie the ends of the laces around your neck to secure the choker.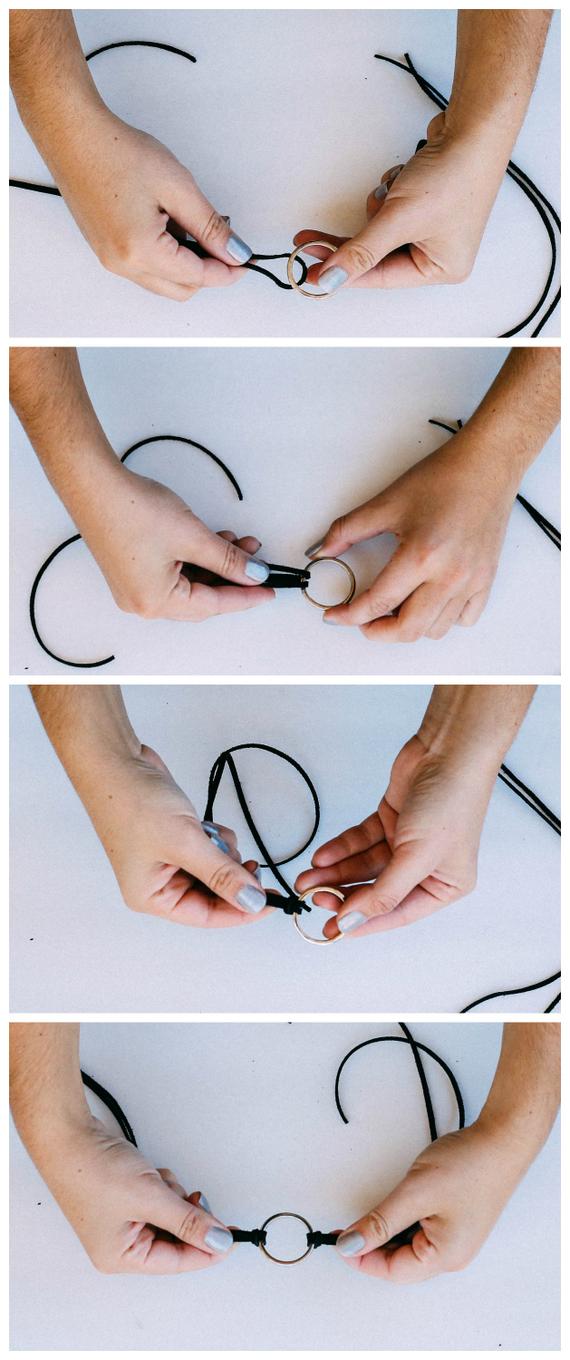
Option 2
This variant of the wide choker is even easier to make. You only need a long leather lace and a pair of beads for decoration.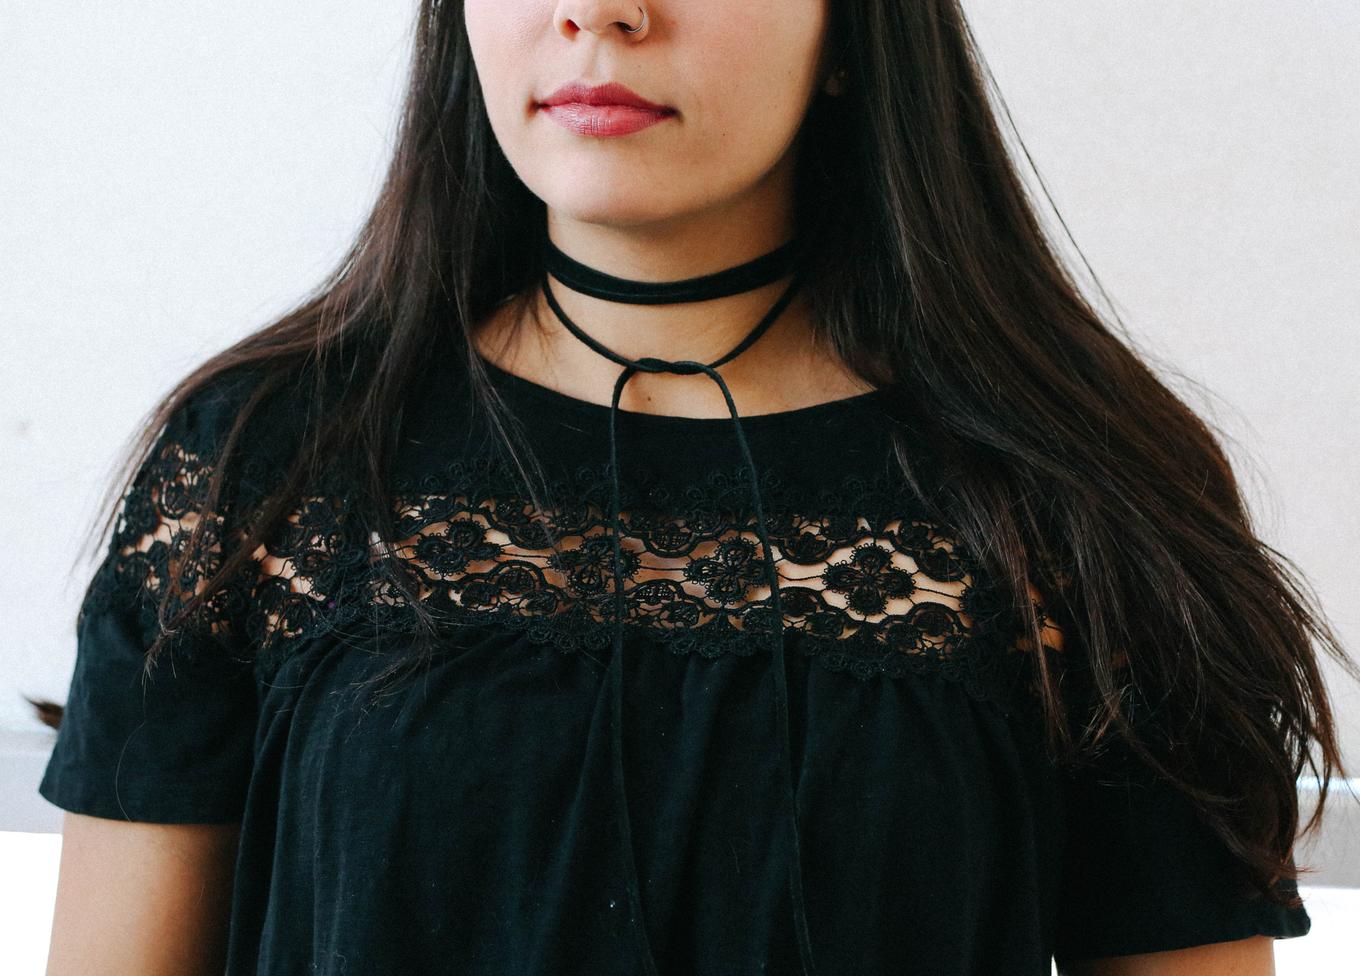
Stages of work:
– take a long leather lace (if you want it to turn around the neck about 3 times, you will need about 2 m);
– Thread the tips into large beads and secure them with knots;
– wrap the choker twice around the neck and tie a loose knot.
As you see, the decoration is very easy to make, and it can look very impressive, try it!